
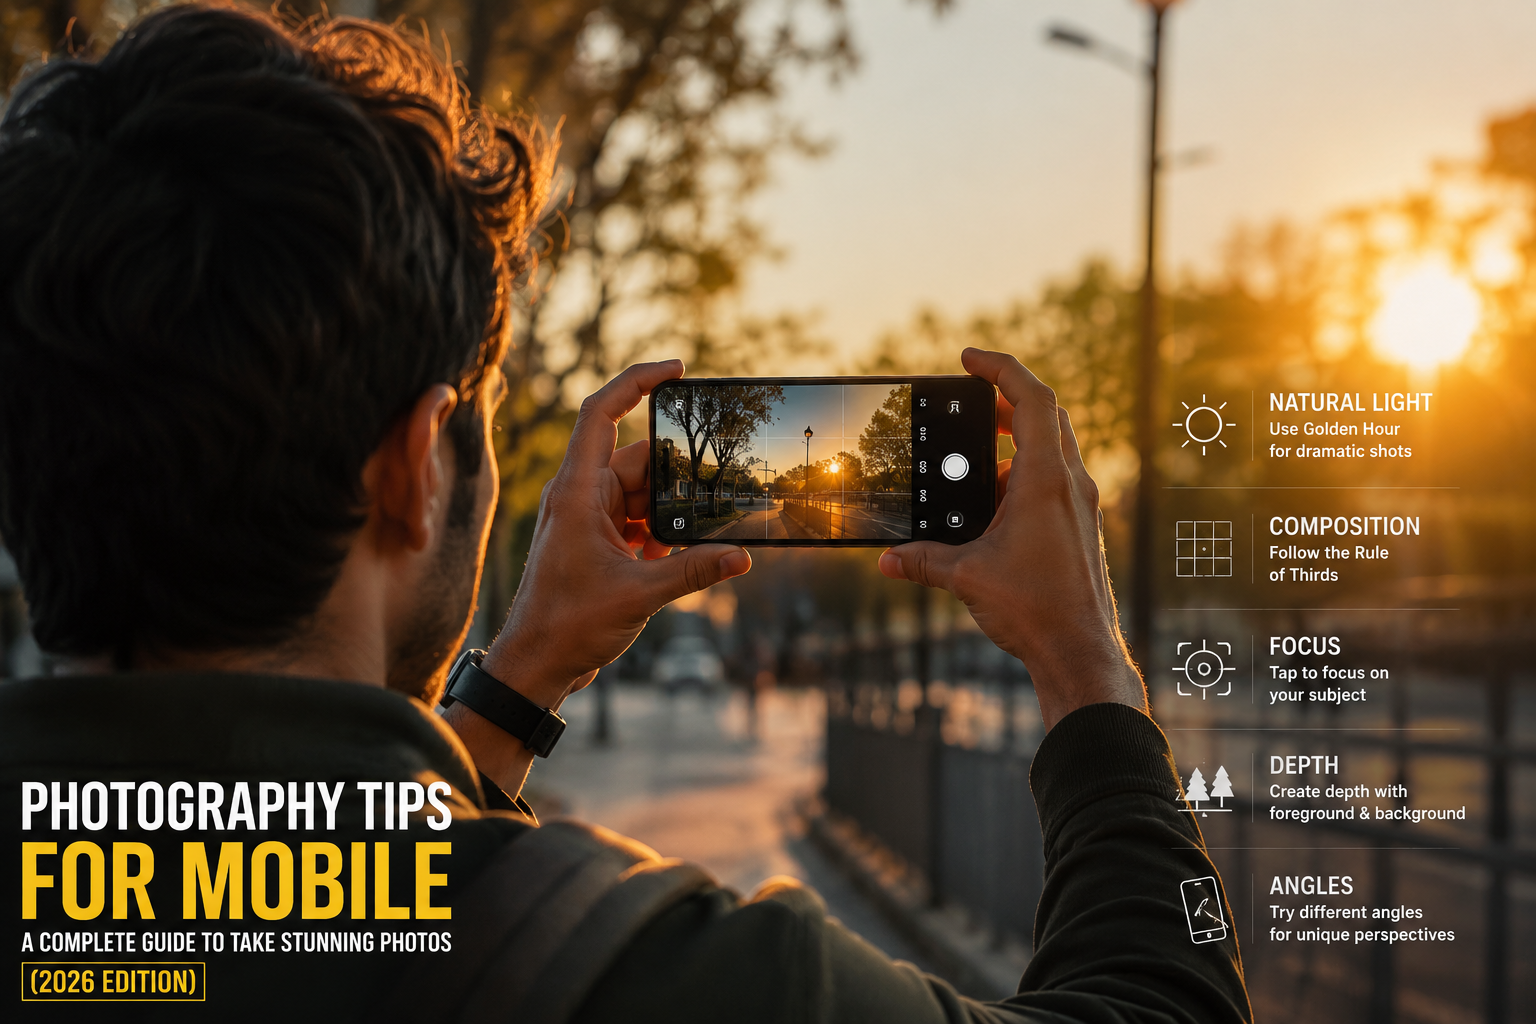
Photography Tips for Mobile: A Complete Guide to Take Stunning Photos (2026 Edition)
Mobile photography has completely changed the way we capture moments. You no longer need an expensive DSLR camera to take beautiful, professional-looking photos. Today, almost everyone carries a powerful camera in their pocket — their smartphone.
But here’s the truth: having a good phone doesn’t automatically mean good photos. The real difference comes from how you use it.
In this guide, I’ll walk you through practical, real-world photography tips for mobile users that will instantly improve your shots. No complicated jargon, no “professional camera talk” — just simple, human-friendly tips you can start using today.
Understand Your Mobile Camera First
Before jumping into shooting, take a few minutes to understand your phone camera settings. Most people skip this step and just start clicking randomly.
Explore your camera app and check
Photo Mode
This is your basic shooting mode, perfect for everyday pictures. It automatically adjusts brightness, color, and focus so you can quickly capture clear and balanced photos.
Portrait Mode
Portrait mode focuses on your subject and blurs the background, giving a professional DSLR-like effect. It’s best for people, product shots, and close-up photography.
Night Mode
Night mode helps you take bright and clear photos in low-light conditions. It reduces noise and enhances details so your pictures don’t look dark or blurry.
Pro / Manual Mode
Pro mode gives you full control over settings like ISO, shutter speed, and white balance. It’s ideal for users who want more creative and professional-level photography.
HDR Settings
HDR (High Dynamic Range) balances light and dark areas in a photo. It helps capture better details in both shadows and bright highlights, especially in high-contrast scenes.
Each mode has its purpose. For example
Portrait Mode
Portrait mode is perfect for capturing people with a sharp focus on the subject and a blurred background. It creates a professional, DSLR-like look that makes the subject stand out clearly.
Night Mode
Night mode is designed for low-light conditions where normal photos may look dark or noisy. It enhances brightness and details, making night or indoor shots much clearer.
HDR (High Dynamic Range)
HDR helps balance the bright and dark parts of an image in tricky lighting. It combines multiple exposures to produce a well-lit photo with better details in both shadows and highlights.
Lighting is Everything (Seriously)
If there’s only one rule in photography, it’s this: light makes or breaks your photo.
Natural light is your best friend.
Best lighting conditions
Early Morning (Soft Golden Light)
Early morning light is soft, warm, and naturally beautiful, making your photos look fresh and calm. It adds a gentle golden glow that enhances colors without being too harsh.
Sunset (Warm and Dramatic Tones)
Sunset light creates rich, warm tones that add depth and emotion to your photos. It’s perfect for capturing dramatic and eye-catching shots with a cinematic feel.
Cloudy Days (Even Lighting, No Harsh Shadows)
Cloudy weather provides soft and balanced lighting, reducing harsh shadows on your subject. It’s ideal for portraits and outdoor photography with natural, evenly lit results.
Avoid
Harsh Midday Sun (Creates Ugly Shadows on Faces)
Harsh midday sunlight is too strong and often causes sharp shadows under the eyes, nose, and neck. It can make photos look unbalanced and less flattering, especially for portraits.
Low Indoor Lighting Without Support
Poor indoor lighting makes photos look dark, grainy, and unclear. Without proper light sources, details are lost and the overall image quality drops significantly.
If you’re indoors, try sitting near a window. Window light is one of the easiest ways to make your photos look professional.
Keep Your Lens Clean
This sounds too simple, but it’s often ignored.
Your phone lives in your pocket, your hand, your bag — and that means dust, fingerprints, and smudges.
A dirty lens can
Make Your Photos Blurry
A dirty or smudged camera lens can easily make your photos look blurry and unfocused. Even a great shot loses its quality if the lens is not clean.
Reduce Sharpness
Dust or fingerprints on the lens reduce the sharpness of your images, making details look soft and unclear. This affects the overall clarity of your photo.
Add Unwanted Haze
A dirty lens can create a foggy or hazy effect in your pictures. This lowers contrast and makes the image look dull instead of crisp and vibrant.
Use the Rule of Thirds
Composition is how you arrange elements in your photo. One of the easiest tricks is the Rule of Thirds.
Imagine your screen divided into 9 equal boxes (like a tic-tac-toe grid).
Instead of placing your subject in the center, try placing it along the lines or at the intersections.
Why?
Because it makes your photo
More Balanced
Using the Rule of Thirds helps place your subject in a way that feels well-balanced in the frame. It avoids empty or awkward spacing and creates a more stable composition.
More Natural
This technique makes photos look more natural because it matches how our eyes naturally view scenes. Instead of centering everything, it creates a more realistic visual flow.
More Visually Interesting
Placing subjects off-center adds depth and creativity to your photos. It draws the viewer’s attention and makes the image more engaging and dynamic.
Most smartphones have a grid option in settings — turn it on.
Avoid Zooming In Too Much
Digital zoom is one of the biggest killers of photo quality.
When you zoom in using your phone, it doesn’t actually bring you closer — it just crops and stretches the image.
Instead
Move Closer to Your Subject
Instead of zooming in, physically move closer to your subject to keep the image sharp and clear. This helps you capture more detail and avoid losing quality.
Or Crop the Image Later During Editing
You can also take a normal shot and crop it later while editing for better framing. This keeps the photo quality high and gives you more control over composition.
Stability is Key (No Shaky Hands)
Blurry photos often happen because your hands move while taking the shot.
To fix this
Hold Your Phone with Both Hands
Using both hands gives you better grip and control over your phone while shooting. It helps reduce shaking and keeps your photos clearer and more stable.
Keep Elbows Close to Your Body:
Keeping your elbows close adds extra support and minimizes hand movement. This simple habit can greatly improve sharpness, especially in low light.
Use a Stable Surface if Possible
Resting your phone on a table, wall, or any stable surface reduces the chance of blur. It’s especially useful for night shots or long exposure photos.
If you want to go next level, use a small tripod. Even a cheap one can improve your photos a lot.
Focus Manually
Don’t always trust automatic focus.
Most phones allow you to tap on the screen to set focus. Use it.
For example
Tap on a Person’s Face for Portraits
Tapping on the subject’s face helps your camera focus correctly on the person. This ensures the face stays sharp and well-lit in portrait shots.
Tap on Food for Food Photography
When shooting food, tapping on the dish sets the focus where it matters most. It brings out texture, color, and detail, making the food look more appealing.
Tap on Objects You Want Sharp
For any object photography, simply tap on the main subject to keep it crisp and clear. This avoids background distractions and highlights what you want to show.
Use Portrait Mode Smartly
Portrait mode creates a blurred background (called “bokeh”), which makes your subject stand out.
But don’t overuse it.
Best use cases
People Portraits
Portrait mode works best for capturing people with clear focus on the face and soft blurred backgrounds. It helps make the subject stand out naturally and beautifully.
Product Shots
It’s ideal for showcasing products by keeping them sharp while blurring distractions in the background. This makes the product look more professional and eye-catching.
Close-up Photography
For close-up shots, portrait mode highlights fine details and textures of the subject. It adds depth and gives a more focused, artistic feel to your images.
Too Many Objects in the Background
When the background is crowded, portrait mode can get confused and lose focus. This often makes the photo look messy instead of clean and professional.
Edges Are Complicated (Like Hair or Glass)
Complex edges like hair strands or transparent objects can confuse the blur effect. It may result in unnatural cutouts or uneven background blur around the subject.
Pay Attention to Background
A great subject can be ruined by a messy background.
Is There Clutter Behind?
Always check if there is unwanted clutter in the background before taking a photo. A clean background helps keep the focus on your subject.
Are There Distracting Objects?
Look for anything that pulls attention away from your subject, like random people or objects. Removing distractions makes your photo more professional.
Does the Background Support the Subject?
Make sure the background matches or enhances your subject instead of overpowering it. A supportive background improves the overall story of your photo.
Walls
Plain walls create a clean and distraction-free background for your photos. They help the subject stand out clearly and give a professional, minimal look.
Nature
Natural backgrounds like trees, grass, and sky add freshness and beauty to your shots. They create a soft, aesthetic feel that enhances the overall image.
Solid Colors
Solid-colored backgrounds keep the focus fully on your subject without any distractions. They are perfect for product photography and clean portraits.
Clean Streets
Simple, uncluttered streets provide a natural and urban vibe to your photos. They add depth while still keeping the subject as the main focus.
Shoot from Different Angles
Most people take photos from eye level only. That’s boring.
Try experimenting
Low Angle (Makes Subject Look Powerful)
A low angle shot is taken from below the subject, making it look strong, tall, and dominant. It’s great for portraits or dramatic photography where you want impact.
High Angle (Good for Food or Flat Lays)
High angle shots are taken from above, giving a clear top-down view of the subject. They work best for food photography, flat lays, and organized scenes.
Side Angle (Adds Depth)
Side angles capture the subject from the side, adding dimension and depth to the photo. It creates a more natural and storytelling feel compared to straight-on shots.
Changing perspective can turn an ordinary photo into something creative.
Use Natural Frames
11. Use Natural Frames
Framing means using objects around your subject to highlight it..
Doorways
Doorways naturally frame your subject and guide the viewer’s focus toward the main subject. They add depth and a storytelling element to your photos.
Windows
Windows provide a natural frame with beautiful light that enhances your subject. They create soft lighting and a clean composition effect.
Trees
Branches and leaves of trees can be used as a natural frame around your subject. They add a creative, outdoor, and aesthetic feel to your shots.
Arches
Arches create a strong and elegant framing effect that draws attention to the subject. They are perfect for giving photos a cinematic and structured look.
Final Thoughts
Mobile photography is not about having the best phone — it’s about knowing how to use what you already have.
If you focus on:
- Good lighting
- Clean composition
- Stable shots
- Simple editing
…your photos will instantly look 10x better.
Remember, every great photographer started with basics. The difference is they kept practicing.
So pick up your phone, go outside, and start capturing the world your way.
Ready to Improve Your Mobile Photography Skills?
Start capturing stunning, professional-looking photos using just your smartphone. Practice these mobile photography tips daily and turn ordinary shots into eye-catching visuals with better lighting, angles, composition, and editing techniques.
Learn More. Practice More. Create Better Photos.
Your smartphone is more powerful than you think — start shooting like a pro today!