
Mastering 360-Degree Photography: A Practical Guide
360-degree photography (also called spherical or panoramic photography) captures a full view in every direction. Viewers can drag or tilt the image to explore the scene from all angles. You’ll see these images in virtual tours, real estate listings, social media, or VR environments.
This guide walks you through gear, shooting techniques, and post-processing to help you create immersive 360° panoramas.
Why 360° Photography Matters
A single flat photo offers a limited view. With 360°, you deliver an experience. Viewers feel like inside the scene, not just looking at it. That sense of presence transforms storytelling, property tours, travel showcases, and interactive content.
360 images prove especially powerful in:
- Real estate: let potential buyers explore properties virtually
- Tourism & travel: bring destinations alive
- Marketing: create immersive brand stories
- Virtual exhibitions and galleries
The demand for 360 content keeps rising in creative and commercial fields.
Creative Ideas for 360 Images
You can:
- Build full virtual tours (homes, galleries, museums)
- Tell interactive stories with hotspots or annotations
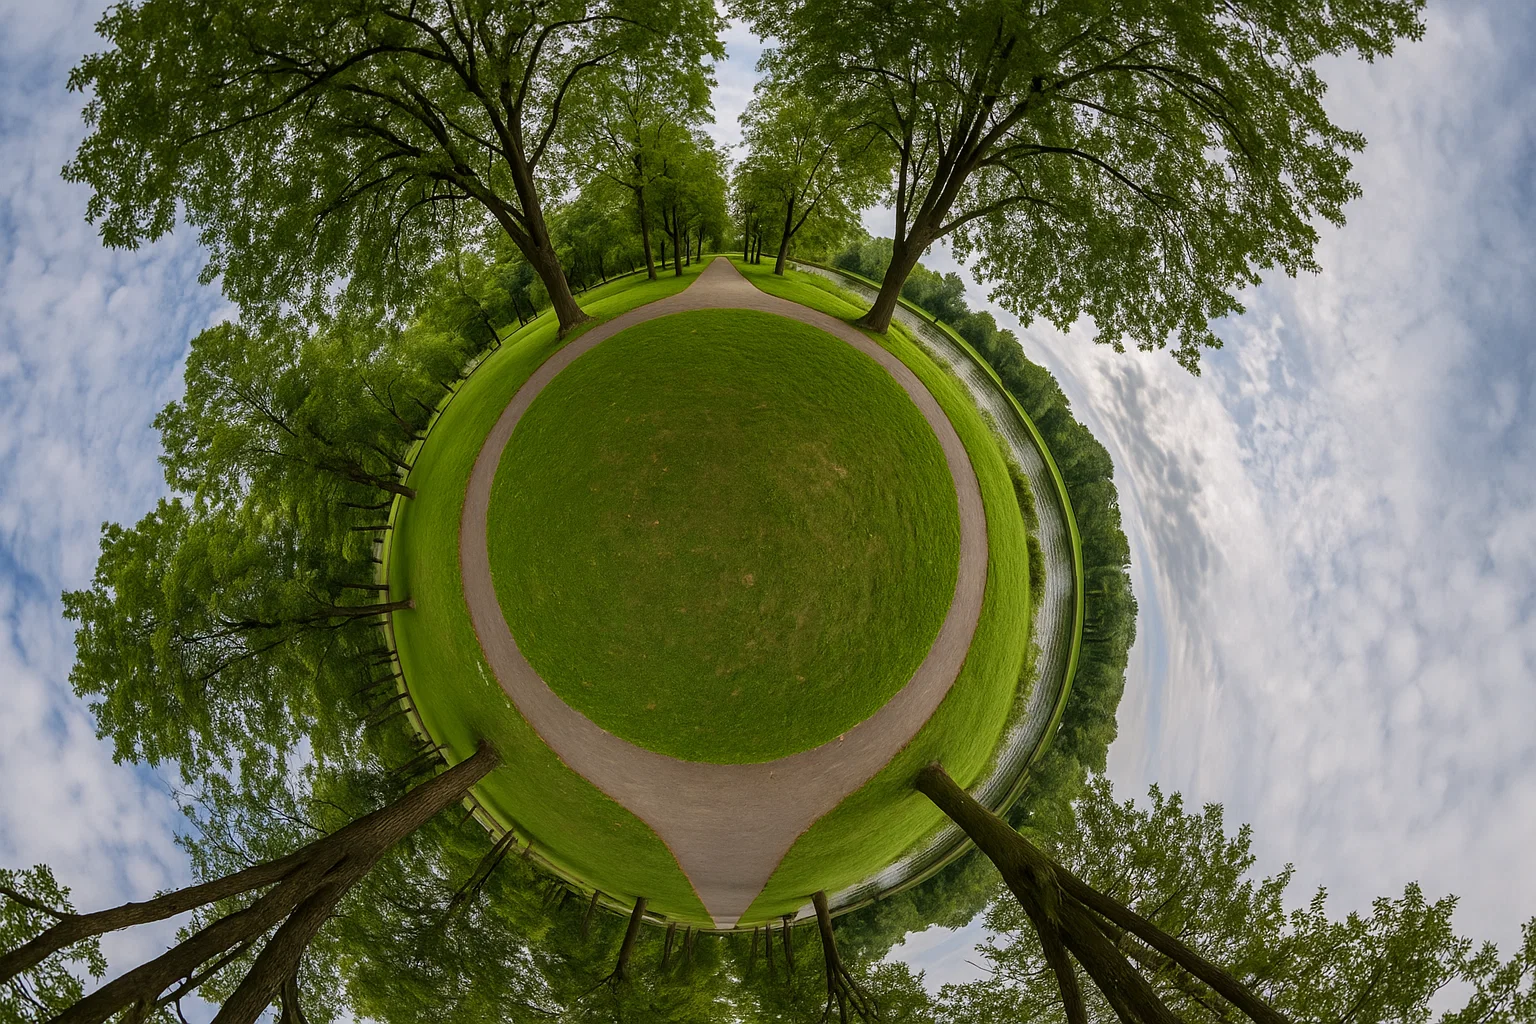
- Experiment with “little planet” or inverted panorama effects
- Use 360 images in VR or augmented reality projects
The only limit is your imagination.
Choosing Gear & Accessories
Good gear makes a difference, but you don’t need to break the bank. Here’s what to consider:
Camera Options
- Dedicated 360 cameras: simple and built for this purpose
- DSLRs / mirrorless cameras: higher image quality, more control
Essential Accessories
- Tripod with leveling base: keeps your camera stable and horizon straight
- Panoramic tripod head: helps you rotate the camera smoothly around a fixed point
- Fisheye lenses: capture a very wide angle per shot
Use gear that fits your style and budget.
Camera Settings & Placement
Proper settings and placement ensure consistent, sharp images.
Exposure & White Balance
Select manual exposure mode. Set a fixed white balance so color stays uniform. Use low ISO to minimize noise. Choose a smaller aperture (a higher f-number) so everything remains in focus.
Focus
Use manual focus, locking on a subject at moderate distance. Avoid autofocus, which may shift between frames.
Positioning
Mount the camera at eye level (or appropriate height for the scene). Keep it perfectly level. Tilt it close to the scene’s nodal point (center of rotation) to reduce stitch errors and distortion.
A stable tripod matters a lot, especially when capturing multiple overlapping frames.
Shooting Techniques for Full Coverage
You must cover all directions evenly. Here are techniques:
Panning (Single Rotation)
Rotate your camera step by step around a fixed point. Overlap each shot by 30% or more so stitching software can match them well. This method works well in simpler scenes.
Multi-Shot (Multiple Positions)
Capture from different angles, heights, or positions when the scene has depth or complex elements. Combine those frames later.
Using a Fisheye Lens
Fisheye lenses capture very wide fields (often 100° to 180°). You’ll cover more area per shot, which reduces the number of images needed. Control distortion by using manual focus and a smaller aperture.
General Tips
- Avoid any unnecessary movement while shooting
- Keep lighting consistent across all frames
- Plan your shot sequence beforehand so no gaps appear
- Capture slightly more than needed; you can always remove extras later
Post-Processing & Sharing
Once you have raw frames, you move onto stitching, editing, and publishing.
Stitching
Use software like Luminar Neo or other panorama tools. Align and merge frames for a seamless 360° image.
Editing
Adjust white balance, contrast, saturation, and sharpness. Remove unwanted objects or fix small flaws. If you used a fisheye lens, correct vignetting or distortions with tools built into editing software.
Sharing & Publishing
Export your 360 image in a format supported by VR or 360 platforms (Kuula, VRplr, VRchive, YouTube, Facebook). Compress the file without losing quality. Add hotspots or annotations to enhance interactivity.
Final Thoughts
360-degree photography lets you share immersive visual experiences. With proper gear, thoughtful shooting, and smart editing, you can create stunning panoramic images.
Grab your camera, practice regularly, and push your creative limits. Your viewers will thank you.