
Picture this: your small appliance is stealing the show on an online marketplace, shining so bright it stops shoppers in their tracks like a dazzling gem in a jewelry shop. Each click brings a wave of excitement, curiosity, and more sales. Feels like a dream. Guess what? You’re closer to making it real than you think. The magic ingredient? Nailing Your Product Photography For Small Appliances. In today’s scroll-happy, picture-loving world, your photos are your one shot to make someone pause and think, “Whoa, I want that!” Amazing images aren’t just about showing off your appliance, they’re about weaving a story, stirring up excitement, and earning trust in a heartbeat. A so-so photo might get swiped past, but a great one? I’ll show you how to make your products pop with photos that scream quality. We’ll tackle everything, lighting, angles, and editing. We don’t just catch eyes; we’ll turn browsers into buyers. Ready to create photos that make shoppers stop, stare, and say, “Shut up and take my money!”? Let’s dive in and turn your product listings into total showstoppers!
Understanding Lighting Techniques for Small Appliances
When photographing small appliances, getting your lighting right can completely transform the way people see your products. Good lighting doesn’t just make your appliance look nice; it tells a story, highlights details, and creates an emotional connection with buyers. Natural light is a favorite starting point for many photographers because it’s soft, flattering, and brings out the textures and true colors of your product. A morning by the window might be all you need for that warm, inviting glow. But let’s be honest, natural light can be tricky. Cloudy days, shifting sun, and the limited hours of perfect light make it tough to rely on consistently. That’s where artificial lighting comes to the rescue. Using tools like softboxes or LED panels gives you full control over your appliance’s appearance, no matter the time of day. Diffused light helps soften shadows and highlights just the right spots, making your product shine (literally and figuratively) without looking harsh or overexposed.
Want to add a little drama? Try backlighting your appliance, placing a light behind it, to bring out the curves and design details that might otherwise get lost. This technique can add depth and make your product feel more three-dimensional and eye-catching. And don’t forget about reflectors! They’re a simple, inexpensive way to bounce light back onto your appliance, filling in any shadows and making sure every angle looks polished and professional.
The fun part? Playing around with different angles, light setups, and intensities. You’ll not only show off the appliance’s features but also paint a picture of the lifestyle your buyer wants, whether it’s brewing a perfect cup of coffee in a cozy kitchen or whipping up smoothies in a stylish, modern space.
At the end of the day, mastering these lighting techniques can take your product photos from “just okay” to absolutely irresistible. And when your photos pop, so do your sales.
Choosing the Right Background for Your Shots
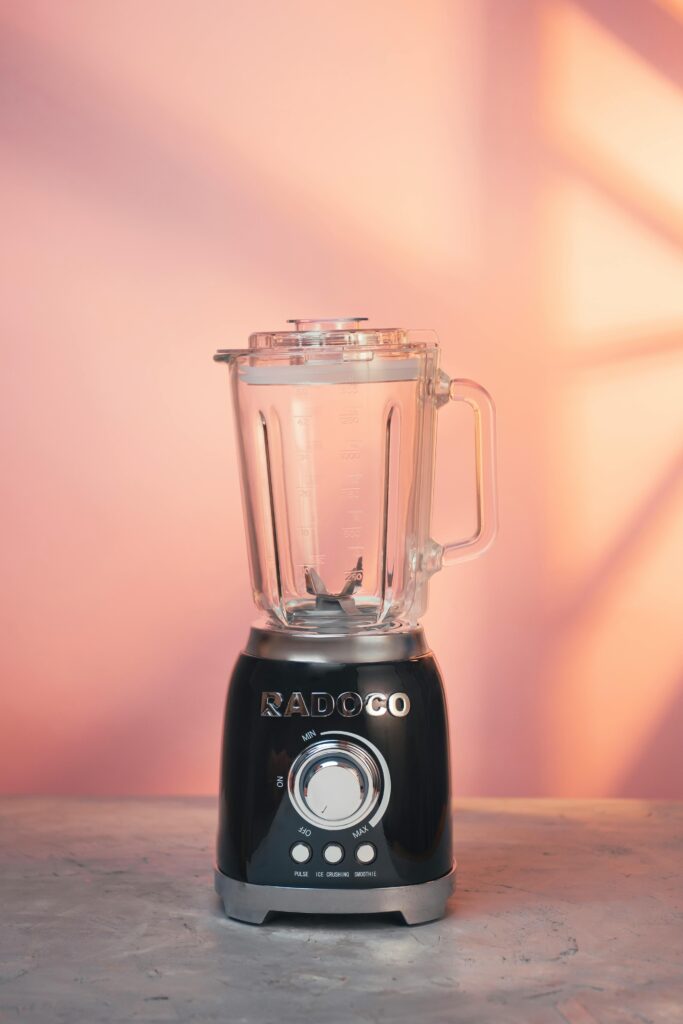
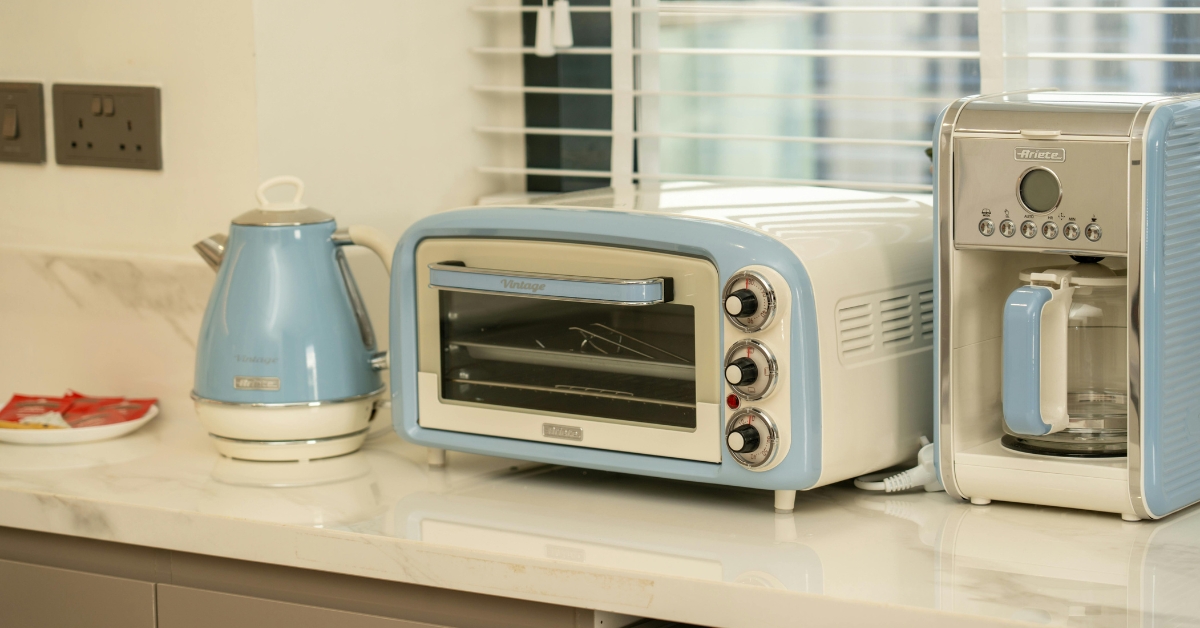
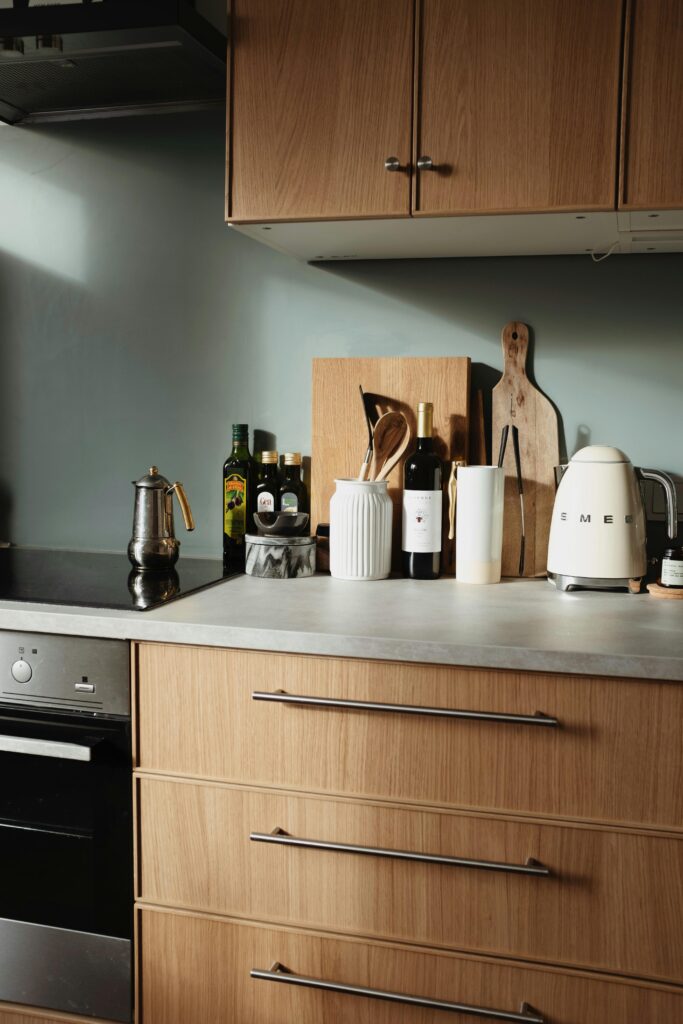
When you’re shooting product photos for small appliances, please don’t overlook the background; it can seriously make or break the shot. The right backdrop doesn’t just sit there; it sets the mood, tells a story, and helps people imagine your product fitting perfectly into their lives. A clean, simple background is often the best starting point. Keeping it uncluttered lets your appliance truly shine, putting all the focus on its design and features without any distractions. Think about using a soft, neutral surface that complements the colors of your product. For example, a sleek stainless-steel toaster can look stunning against a matte white backdrop, giving off a modern, high-end vibe without even trying too hard. But if you want to take things a step further, lifestyle backgrounds can add a whole new layer of connection. Picture a cozy kitchen scene, a compact coffee maker sitting on a rustic wooden counter, with a few coffee beans scattered around and a steaming mug nearby. Suddenly, it’s not just a coffee maker; it’s your new favorite part of the morning routine. Mixing in natural materials like wood, stone, or even textured fabrics can give your shots more warmth and dimension, making the overall photo feel richer and more inviting. Just remember: no matter how detailed your background is, your product should always be the star of the show.
At the end of the day, the right background doesn’t just make your photos prettier; it helps tell your brand’s story and makes your appliances feel like a must-have part of your customer’s everyday life.
Essential Gear for Product Photography Success
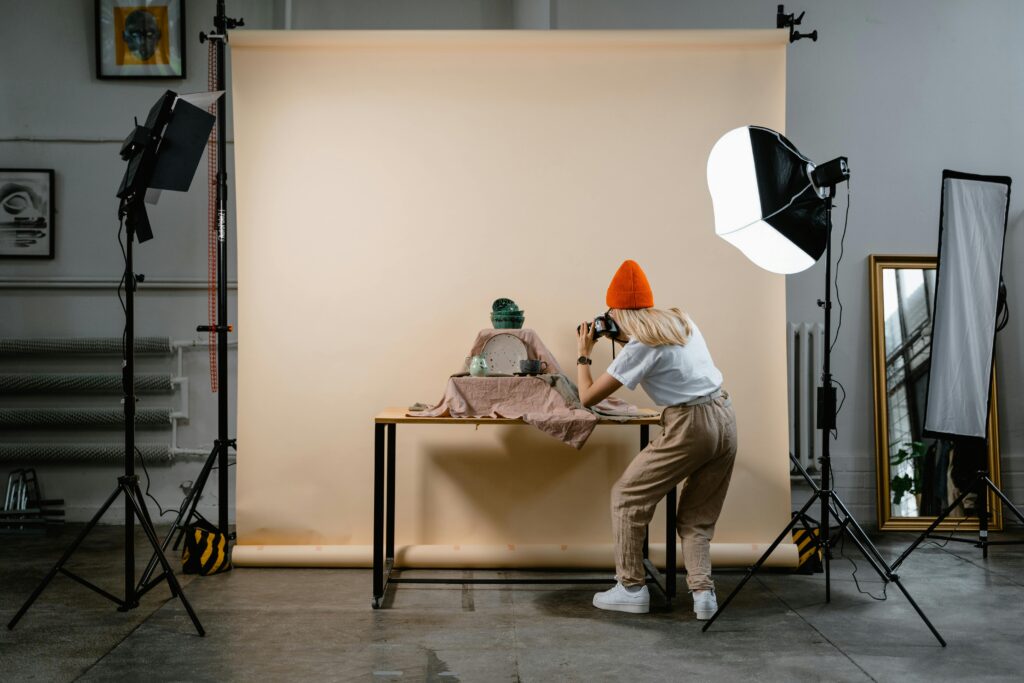
When it comes to photographing small appliances, having the right gear can make a huge difference in how polished and professional your images turn out. It’s not just about having fancy equipment, it’s about giving yourself the tools to show your products in the best possible light (literally!).
First up: a sturdy tripod. Trust me, it’s a game-changer. A tripod keeps your camera rock-steady, even if you’re shooting from tricky angles or taking your time to frame the perfect shot. No more blurry photos from shaky hands! Plus, it lets you fine-tune your composition so you can capture all the important little details that make your appliance stand out. Speaking of details, if you want to wow your audience, a macro lens can take your photos to the next level. It lets you zoom in and highlight all those tiny textures, buttons, and design features that buyers love to see up close, the stuff that often seals the deal when someone’s deciding to click “buy.”
Of course, we can’t talk about photography without talking about lighting. Good lighting can make your product look irresistible, while bad lighting… well, let’s just say it can do the opposite. Investing in tools like softbox lights or a ring light can give you beautiful, even lighting that smooths out harsh shadows and brings out the best in your appliance. If you want to go a step further, a light tent can help create a perfectly controlled environment, giving your product that clean, polished look without any distracting background clutter.
And here’s a pro tip: using a color checker card can help you nail accurate colors, which is super important when your appliances come in specific finishes like brushed metal or glossy red. You want your buyers to know exactly what they’re getting and love it even more when it arrives. At the end of the day, choosing the right gear (and knowing how to use it) can seriously boost the quality of your product photos. Better photos mean better engagement, and better engagement often leads straight to more sales.
Styling Tips for Small Appliance Photography

When you’re getting into product photography for small appliances, it’s not just about snapping a pretty picture, it’s about telling a story. A good photo highlights how the appliance looks and hints at how it could fit perfectly into someone’s everyday life. Start simple, choose a clean, uncluttered background that lets your appliance be the star of the show. Neutral colors are usually a safe bet, but if you want to add a little more interest, think about bringing in some subtle textures like wood, linen, or stone. These little touches can add warmth and depth without stealing the spotlight. Lighting is a big deal, too. Natural light can make your appliance look amazing, softer, more natural, and truer to life. Try setting up near a window where the light is bright but not harsh. A little diffused sunlight can bring out the details in the materials, finishes, and design. Props are another great way to level up your photos, but less is more here. The goal is to complement the appliance, not crowd it. For example, if you’re shooting a coffee maker, you could place a stylish mug or a few scattered coffee beans nearby. It’s a simple touch that helps people imagine the product in their kitchens and maybe even picture their perfect morning routine. And don’t be afraid to play around with different angles. Sometimes a straight-on shot works best; other times, a slightly tilted or overhead view can better capture both the design and the functionality. It’s all about finding that sweet spot where your appliance looks its absolute best.
At the end of the day, great styling in small appliance photography isn’t about making the photo look staged, it’s about creating an inviting, real-life feel that draws people in and makes them think, “I need that in my home.”
Composition Techniques to Enhance Your Images
In product photography for small appliances, mastering composition techniques can significantly elevate the visual appeal of your images. One effective method is the use of leading lines, which guide the viewer’s eye towards the product, creating a natural flow within the frame. For instance, placing the appliance against a backdrop with lines, like kitchen countertops or shelves, can draw attention to its features while also providing context. Additionally, employing negative space effectively allows the product to breathe within the composition, making it stand out against a less cluttered background.
Another powerful technique is the rule of thirds, which divides your image into a grid of nine equal parts. By positioning key elements along these lines or at their intersections, you can create a more balanced and dynamic composition. For small appliances, this might mean aligning the product’s most compelling features, like sleek edges or vibrant colors, with these focal points. Furthermore, experimenting with different angles can unveil unique perspectives that showcase functionality and design. A low-angle shot can impart a sense of importance and grandeur, while a high-angle view may offer a comprehensive look at the appliance’s usability in an everyday setting. These nuanced approaches not only enhance aesthetic quality but also communicate the product’s value to potential customers effectively.
Post-Processing Tips for Stunning Results
Post-processing is where the magic truly happens in product photography for small appliances. One essential tip is to pay close attention to color accuracy; a well-calibrated monitor can make all the difference. Utilize tools like Adobe Lightroom or Capture One to ensure that the colors of your products are represented authentically, as this can significantly influence a customer’s perception and purchasing decision. Employing curves and levels can enhance contrast without sacrificing detail, making your small appliances pop against their backgrounds.
Another powerful technique involves using masks and layers to create depth and dimension. By selectively brightening specific areas or adding subtle shadows, you can draw the viewer’s eye to key features of your products. Don’t shy away from experimenting with textures; adding a slight vignette can help isolate the subject, while sharpening edges can provide a more tactile feel, enhancing the overall allure of your appliances. Finally, consider incorporating lifestyle elements into your compositions during post-processing, as this can contextualize the product, making it more relatable and desirable to potential buyers.
Common Mistakes to Avoid in Product Photography
When it comes to product photography for small appliances, avoiding common pitfalls can significantly enhance the quality of your images. Here are some mistakes to watch out for:
Neglecting Proper Lighting: Natural light can create beautiful images, but relying solely on it may lead to inconsistent results. Invest in softbox lights or ring lights to maintain uniformity across your shots.
Ignoring Background Choices: A cluttered or distracting background can take attention away from the product. Opt for neutral backdrops that complement your appliance, allowing it to stand out.
Inadequate Focus on Details: Small appliances often have intricate features that set them apart. Ensure your camera settings allow for close-up shots that highlight these details, showcasing the quality and craftsmanship.
Overlooking Composition Techniques: Utilize the rule of thirds or leading lines to create dynamic compositions. A well-composed image draws the viewer’s eye and creates a sense of professionalism.
By being mindful of these elements, you can elevate your product photography, making your small appliances not just visible but truly captivating.
Elevate Your Photography Skills Today
Mastering product photography for small appliances can significantly enhance your portfolio and elevate your skills as a photographer. Start by understanding the nuances of lighting; natural light can create soft shadows and effectively highlight the appliance’s features, while artificial lighting allows for more control over the mood and ambiance of your shots. Experiment with different light sources, such as softboxes or ring lights, to find the perfect balance that showcases the product’s details without overwhelming them.
Composition is equally crucial in product photography. Utilize techniques like the rule of thirds to create a visually appealing layout that draws the viewer’s eye to the appliance. Don’t shy away from incorporating props or backgrounds that complement the product; for instance, placing a small kitchen appliance on a rustic wooden table can evoke a cozy atmosphere, enhancing the overall narrative of your image. Additionally, consider shooting from various angles to present the appliance in its best light, capturing not just its form but also its functionality. By focusing on these elements, you’ll not only improve your technical skills but also develop a keen eye for what makes an image truly captivating.